Outils pour utilisateurs
Table des matières
Apparition de balles par boutons
État : en cours (problème avec l'apparition de trop de balles)
- Porteur(s) du projet : Dufossé Martin (DSAA1 DG), Damien MUTI (Prof. de Numérique)
- Date : 05/2021
- Contexte : Recherches “mémoire”
- Fichiers :
- Liens :
- Capteurs/Actionneurs :
- ARDUINO UNO
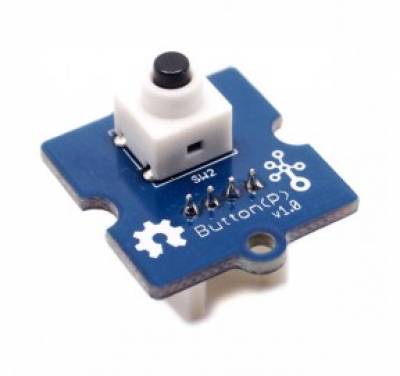
- BOUTON POUSSOIR
Intentions : explication du projet et objectifs
On apprend à compter à partir de 3 boutons poussoir qui vont faire apparaitre des balles sur l'écran. Le premier bouton fera apparaître 1 balle, le second 2 et le troisième 3. L'enfant aura alors une prémisse au calcule car il pourra compter le nombre total de balles visible sur l'écran. Ainsi si il appuie 2 fois sur le troisième bouton, il pourra compter 6 balles à l'écran.
Le matériel
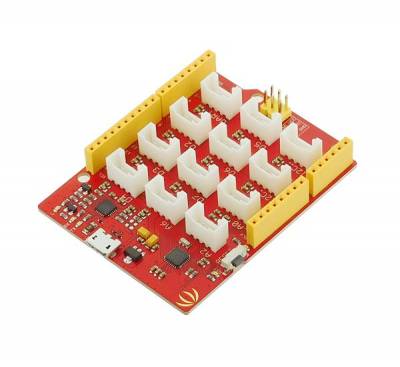
3 boutons poussoir Carte seeeduino lotus
carte seeeduino lotus
La documentation sur cette carte est la suivante :
- Carte Seeduino : https://wiki.seeedstudio.com/Seeeduino_Lotus/.
Boutons Poussoir
Plans et schémas de fonctionnement
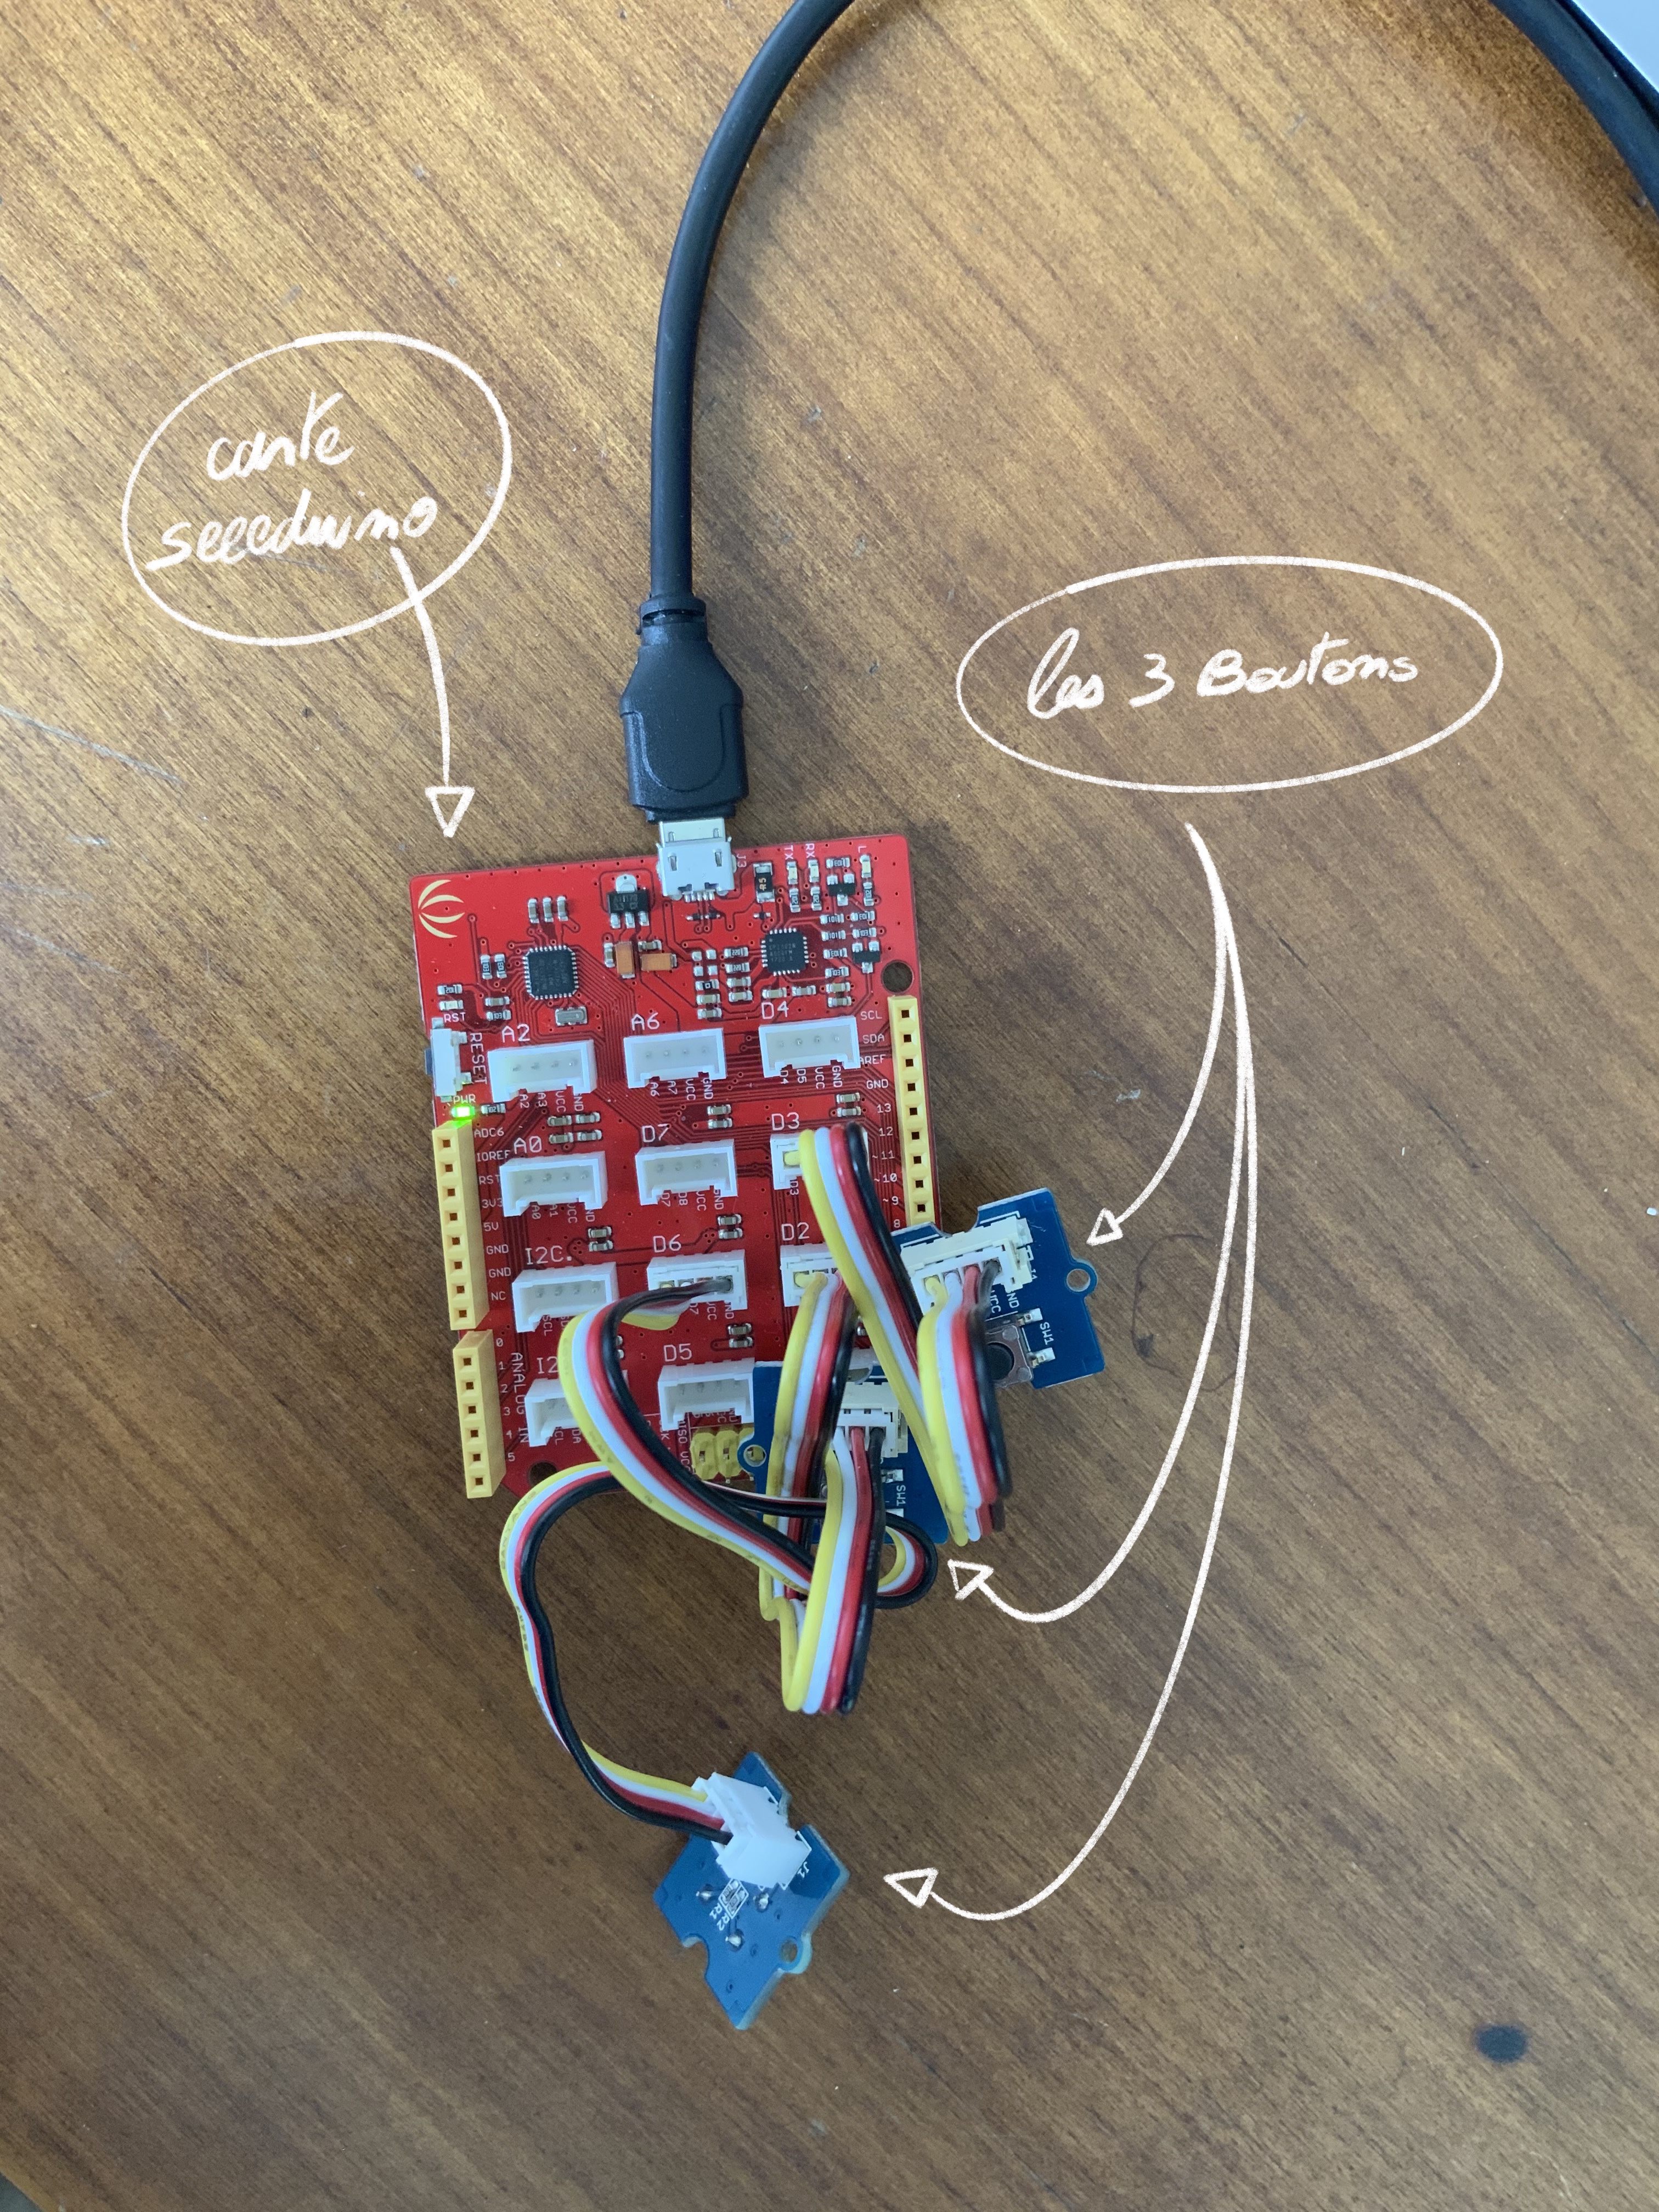
Câblage du circuit
- Les modules Boutons sont branché respectivement sur le connecteur D2, D6 et D3 de la Carte Seeeduino Lotus ou du Shield Grove.
Programmes
Arduino
Le code permettant de contrôler les boutons à partir d'une pression d'être détecté.
int inByte = 0; incoming serial byte byte bouton[] = {2, 3, 6}; int valBouton[] = {0, 0, 0}; byte Nbouton = 3; void setup() { start serial port at 9600 bps:
Serial.begin(9600);
while (!Serial) {
  ; // wait for serial port to connect. Needed for native USB port only
}
for (byte i = 0; i < Nbouton; i++) {
  pinMode(bouton[i], INPUT);   // digital sensor is on digital pin 2
}
establishContact(); // send a byte to establish contact until receiver responds
}
void loop() {
// if we get a valid byte, read analog ins:
if (Serial.available() > 0) {
  // get incoming byte:
  inByte = Serial.read();
  // read first analog input, divide by 4 to make the range 0-255:
  // lire la valeur de chaque bouton
  for (byte i = 0; i < Nbouton; i++) {
    valBouton[i] = map(digitalRead(bouton[i]), 0, 1, 0, 255);; // digital sensor is on digital pin 2
 }
  // send sensor values:
  for (byte i = 0; i < Nbouton; i++) {
    Serial.write(valBouton[i] );
  }

}
}
void establishContact() {
while (Serial.available() <= 0) {
  Serial.print('A');   // send a capital A
  delay(300);
}
}
Processing
/** * Serial Call-Response * by Tom Igoe. * * Sends a byte out the serial port, and reads 3 bytes in. * Sets foregound color, xpos, and ypos of a circle onstage * using the values returned from the serial port. * Thanks to Daniel Shiffman and Greg Shakar for the improvements. * * Note: This sketch assumes that the device on the other end of the serial * port is going to send a single byte of value 65 (ASCII A) on startup. * The sketch waits for that byte, then sends an ASCII A whenever * it wants more data. */
import processing.serial.*;
int bgcolor; Background color int fgcolor; Fill color Serial myPort; The serial port balles int xpos, ypos; Starting position of the ball int d = 20; diamètre des balles
boutons via port série int[] valBouton; boolean[] ancienEtatBouton; int Nboutons =3; int[] serialInArray = new int[3]; Where we'll put what we receive int serialCount = 0; A count of how many bytes we receive boolean firstContact = false; Whether we've heard from the microcontroller
void setup() {
size(256, 256);  // Stage size
noStroke();      // No border on the next thing drawn
background(0);
// Set the starting position of the ball (middle of the stage)
xpos = width/2;
ypos = height/2;
// création et init du tableau de valeur des boutons
valBouton = new int[Nboutons];
ancienEtatBouton = new boolean[Nboutons];

for (int i=0; i<Nboutons; i++) {
  valBouton[i]=0;
  ancienEtatBouton[i]=false;
}
// Print a list of the serial ports, for debugging purposes:
printArray(Serial.list());
// I know that the first port in the serial list on my mac
// is always my  FTDI adaptor, so I open Serial.list()[0].
// On Windows machines, this generally opens COM1.
// Open whatever port is the one you're using.
String portName = Serial.list()[1];
myPort = new Serial(this, portName, 9600);
}
void draw() {
//fill (0);
//rect(0,0,width, height);
for (int i=0; i<Nboutons; i++) {
  if (valBouton[i]==255 && ancienEtatBouton[i]==false) {
    ancienEtatBouton[i]= true;
    for (int j=0; j<i+1; j++) {
      creerBalle(); // x et y aléatoire
      fill(255, 0, 0); // couleur de la balle
      circle(xpos, ypos, d);
    }
  } else {
    ancienEtatBouton[i]= false;
  }
}
fill(255);
// Draw the shape
ellipse(xpos, ypos, 20, 20);
}
void serialEvent(Serial myPort) {
// read a byte from the serial port:
int inByte = myPort.read();
// if this is the first byte received, and it's an A,
// clear the serial buffer and note that you've
// had first contact from the microcontroller.
// Otherwise, add the incoming byte to the array:
if (firstContact == false) {
  if (inByte == 'A') {
    myPort.clear();          // clear the serial port buffer
    firstContact = true;     // you've had first contact from the microcontroller
    myPort.write('A');       // ask for more
  }
} else {
  // Add the latest byte from the serial port to array:
  serialInArray[serialCount] = inByte;
  serialCount++;
  // If we have 3 bytes:
  if (serialCount > 2 ) {
    for (int i=0; i<Nboutons; i++) {
      valBouton[i]=serialInArray[i];
    }
    // print the values (for debugging purposes only):
    println(valBouton[0] + "\t" + valBouton[1] + "\t" + valBouton[2]);
    // Send a capital A to request new sensor readings:
    myPort.write('A');
    // Reset serialCount:
    serialCount = 0;
  }
}
}
void creerBalle() {
xpos = (int)random(d/2, width-d/2);
ypos = (int)random(d/2, height-d/2);
}
Références
Réalisation de la maquette
vidéos, photos du making of…


